Install with the wizard
obinstall is the browser based installer. It is the normal way to install
Obarun on a machine you are sitting in front of. It replaces the old
obarun-install dialog script, which has been retired and removed from the
repositories.
Starting it
On a current live image the installer is already there:
- pick Install in the boot menu, or
- on the JWM image, open the installer from the desktop icon or from the System entry of the JWM menu.
Give it a few seconds
Started from the JWM desktop icon, the wizard does not appear instantly. The delay is the local endpoint coming up and the browser loading behind it. Nothing is wrong, wait a moment and the page opens on its own.
To start it by hand from a live shell:
It binds 127.0.0.1:7666 and prints a URL carrying a one-shot token. Open that
URL in a browser. On a live medium with no desktop, an optional kiosk mode
starts an X server, a window manager and a browser for you.
Local only
The wizard listens on the loopback interface. It is not reachable from another machine, and it is not meant to be.
The welcome page
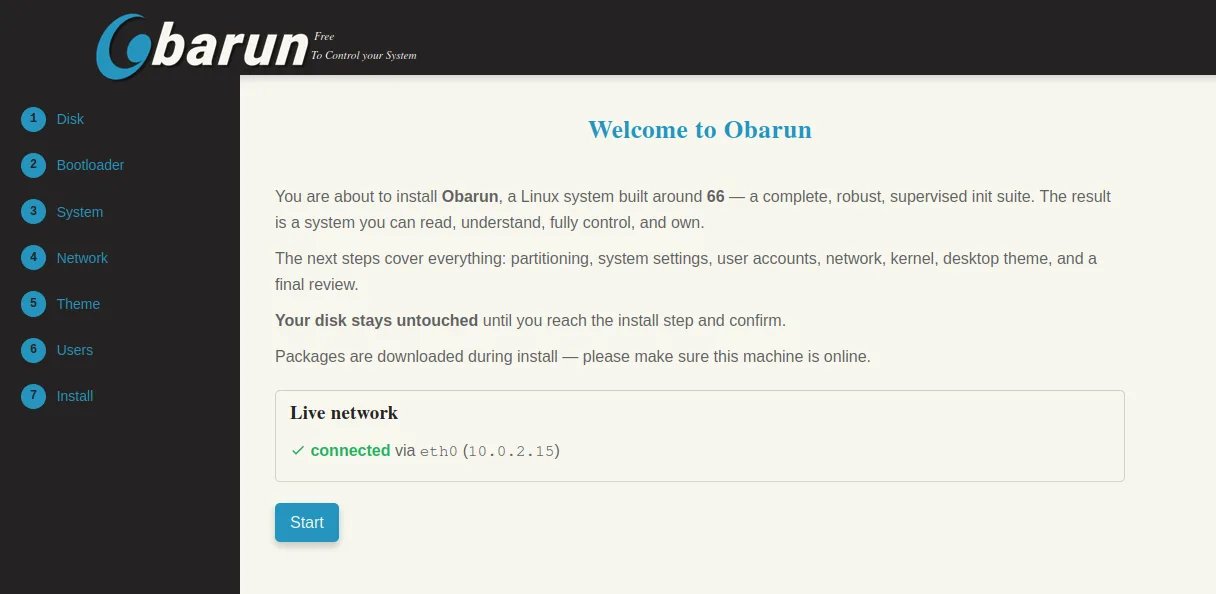
Before the installation steps, the welcome page checks the live network and sets up Wi-Fi if you need it. It also states the rule the whole wizard follows: your disk stays untouched until you reach the install step and confirm.
The keyboard selector sits in the header bar, top right, and stays there on every step. Set it before you type anything. Getting the layout right here saves you from entering passwords blind later.
The seven steps
| Step | What you decide |
|---|---|
| Disk | Partition layout, see below |
| Bootloader | syslinux, grub or efistub |
| System | Hostname, locale, timezone, keymaps |
| Network | The network configuration the installed system will use |
| Theme | minimal or jwm, see below |
| Users | Root password and the unprivileged accounts to create |
| Install | Review, confirm, watch the log |
You can move freely between steps, backwards as well as forwards, and your answers are saved as you go. Nothing is written to the disk until you confirm at the final step.
Disk
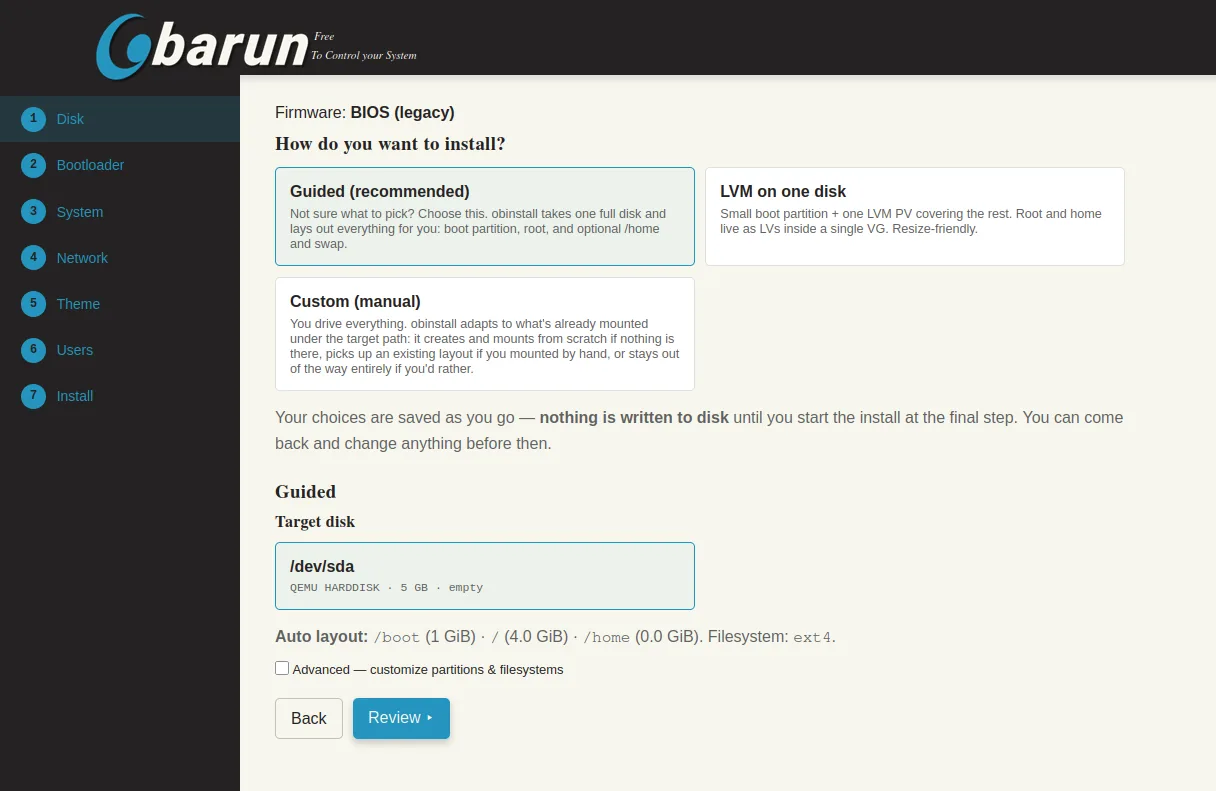
Three scenarios:
- Guided takes one full disk and lays out a boot partition, a root
partition, and optionally
/homeand swap. - LVM on one disk creates a small boot partition plus one LVM physical volume covering the rest, with root and home as logical volumes.
- Custom leaves partitioning and mounting to you. The installer adapts to whatever is already mounted under the target path.
The step shows the firmware it detected, lists the disks it found with their size and current content, and summarises the layout it is about to create. An Advanced checkbox opens the partition and filesystem details if you want to change them.
Bootloader
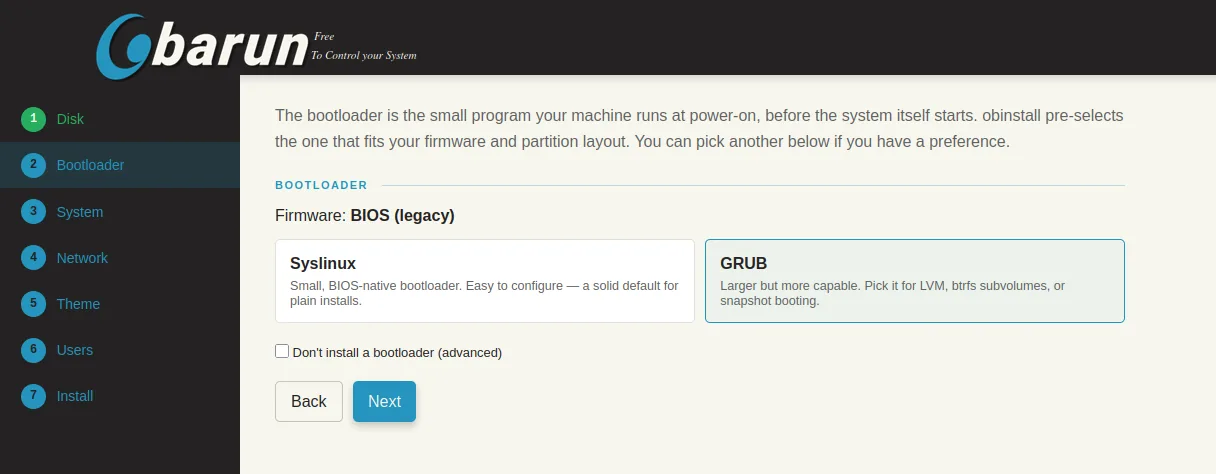
The step pre-selects the bootloader that fits your firmware and partition
layout. The kernel command line it writes is the one that bootloader uses by
default, ro for syslinux and efistub, rw for grub. Both boot. See
GRUB and Syslinux
for what that choice actually changes, and note that a ZFS root needs rw.
A Don't install a bootloader checkbox is there for the case where you manage booting yourself, for instance an existing GRUB on another disk.
System
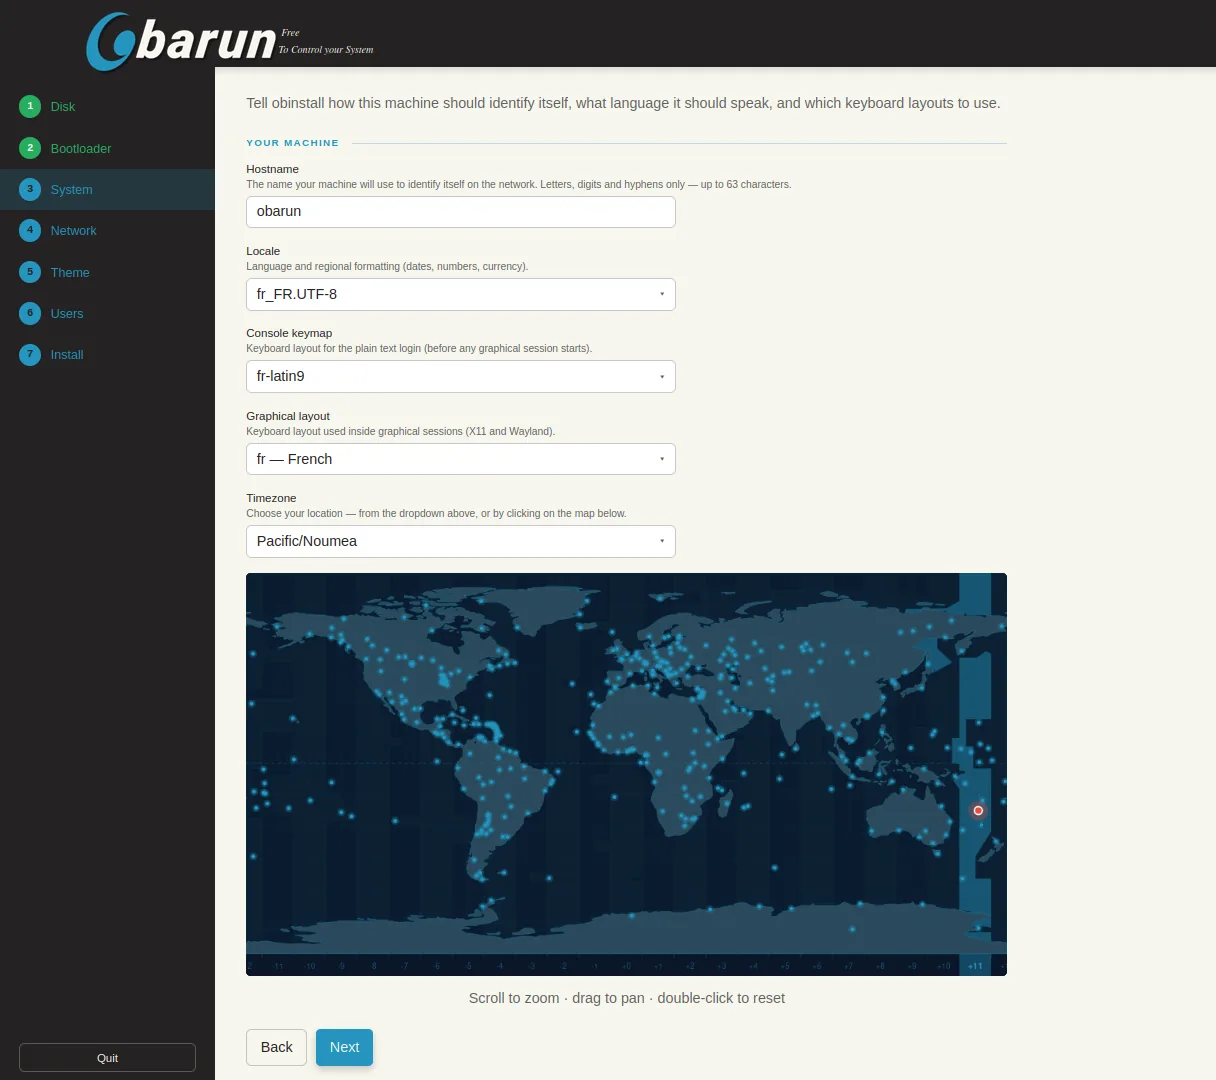
Hostname, locale, and timezone. Two details worth noticing:
- Console keymap and graphical layout are separate fields. The first applies to the plain text login, before any graphical session starts, the second inside X11 and Wayland sessions. Set both, they do not inherit from each other.
- The timezone can be clicked on the map rather than hunted for in the list.
Network
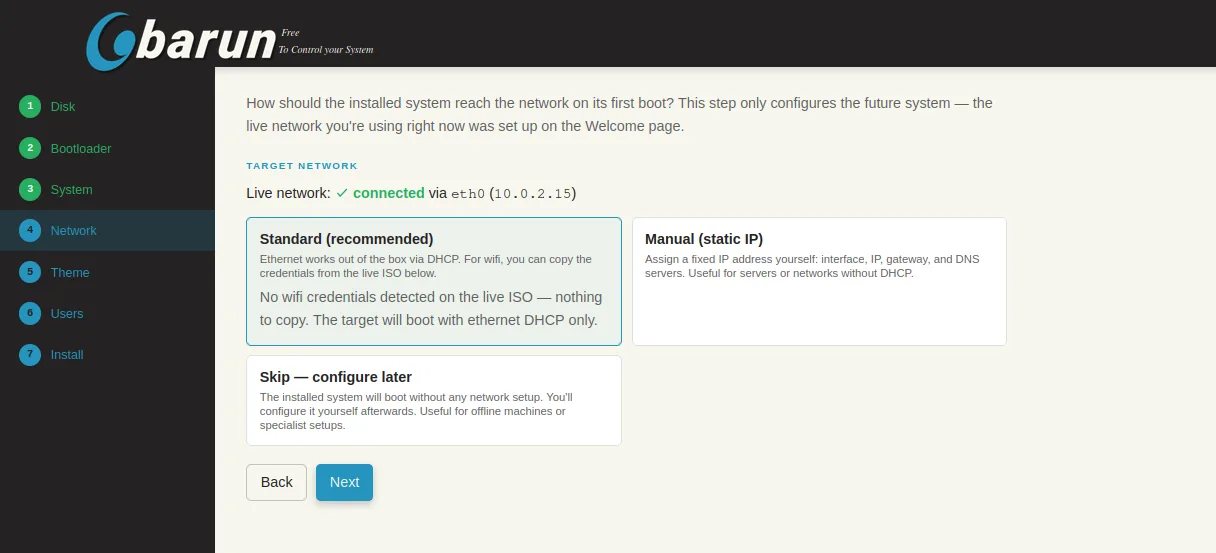
This step configures the future system, not the live one you are using. The live network was set up on the welcome page.
- Standard uses DHCP, which is what ethernet needs in nearly every case. If you configured Wi-Fi on the welcome page, the credentials are copied over.
- Manual assigns a fixed address: interface, IP, gateway and DNS servers. For servers, or networks without DHCP.
- Skip installs no network configuration at all. The system boots without one and you configure it yourself.
Theme
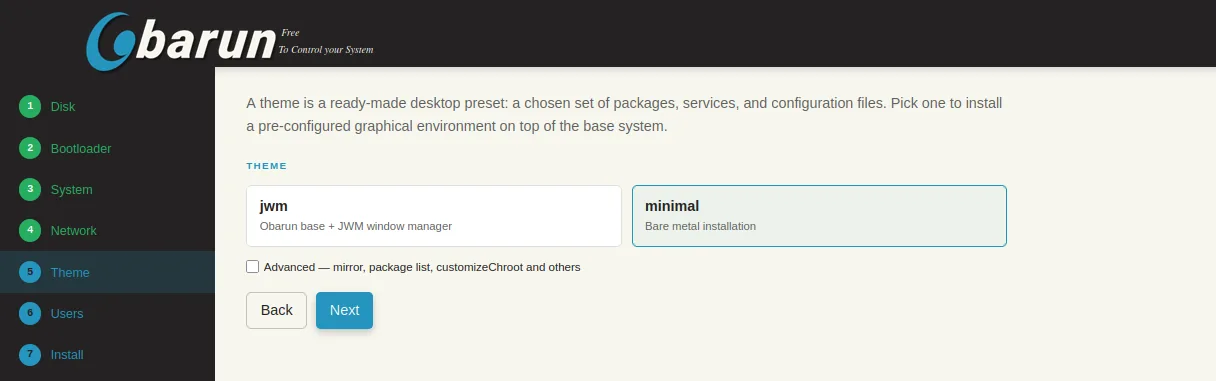
A theme is a ready made preset: a package list, a set of 66 services to enable, configuration files to drop into the new system, and a hook that runs inside the target.
| Theme | Result |
|---|---|
minimal |
Console system: core packages, recovery tools, and the 66 services needed to boot |
jwm |
The same base plus a graphical session around the JWM window manager |
The graphical theme installs xlibre-server with the xlibre-input-* and
xlibre-video-* drivers. No Xorg server is pulled in.
The Advanced checkbox exposes the mirror, the package list and the
customizeChroot hook, so you can adjust a shipped theme without writing one.
Writing your own theme is documented in
docs/theme-authoring.md.
Users
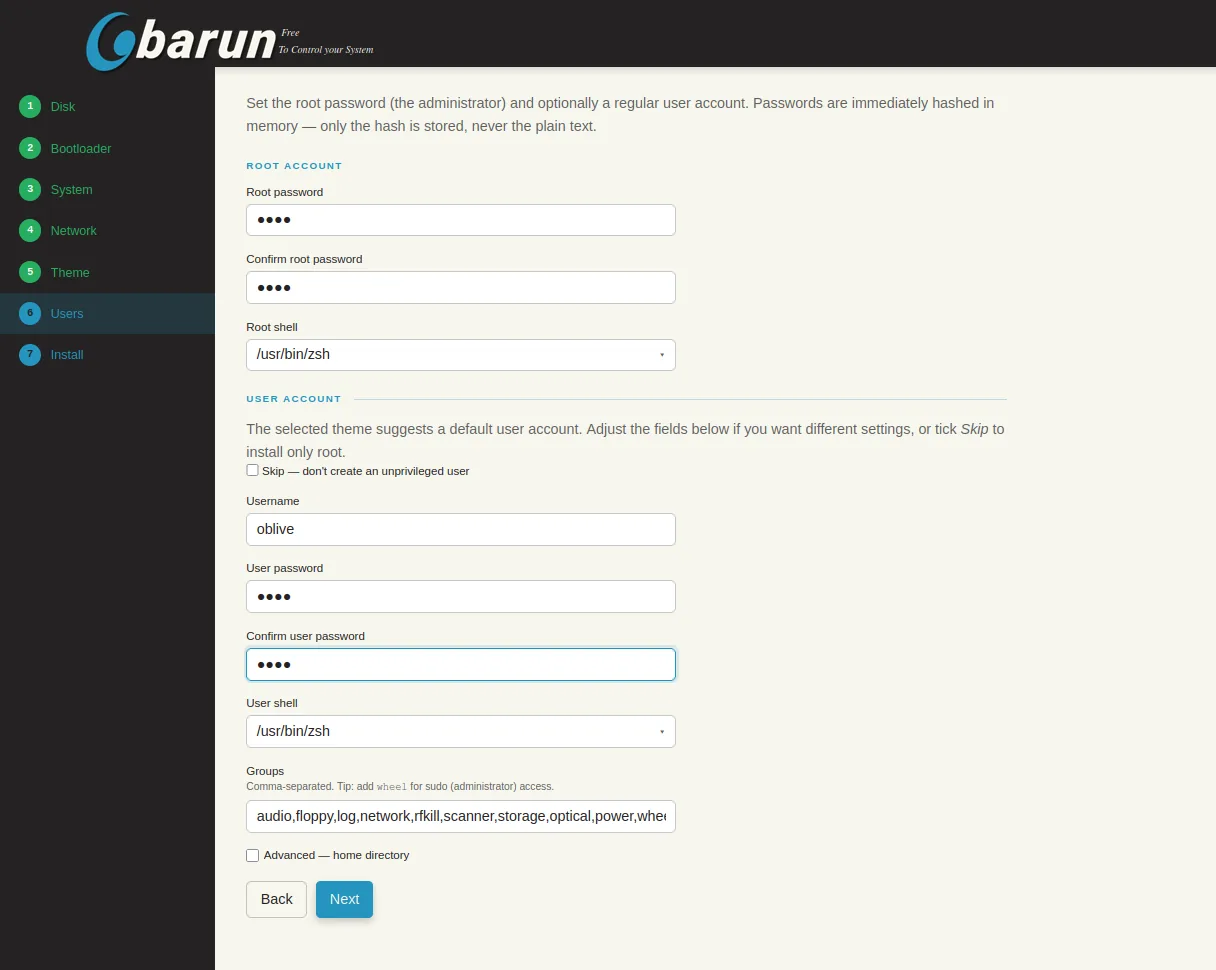
The root password and shell, then an unprivileged account. The selected theme suggests a default account, and you are free to rename it, change its shell, or tick Skip to install root only.
Skip root-only installs with care
On Obarun the emergency console tty@tty12 refuses root logins. A
system with no unprivileged account and a boot that goes wrong leaves you
locked out. See Consoles and tty12.
The Groups field decides what the account may do. Adding wheel is what
grants sudo access, and the field is prefilled with the usual hardware groups.
Passwords are hashed in memory as you type them. Only the hash reaches the installed system, never the plain text.
Install
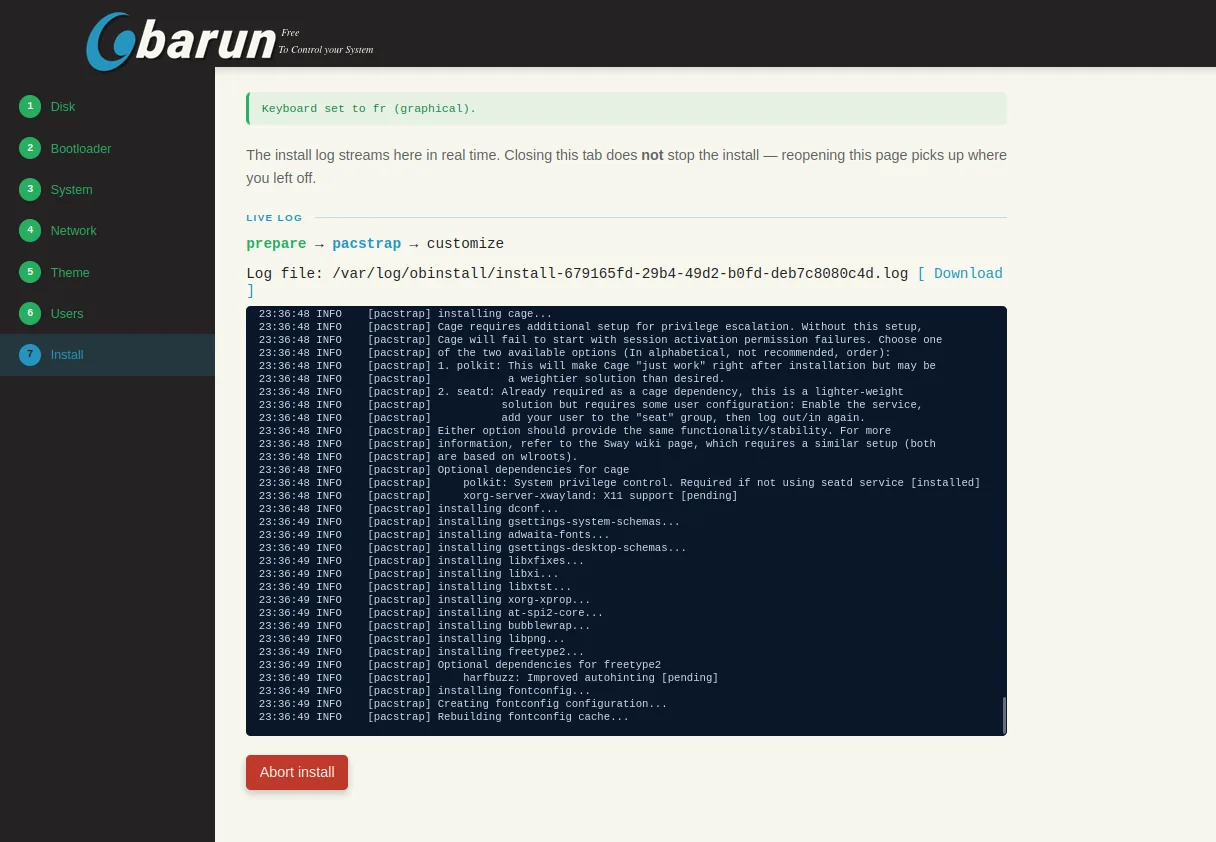
The last step streams the installation log live in the page, with the phase it
has reached, prepare then pacstrap then customize. The full log is written
to a file under /var/log/obinstall/, whose path is shown with a download link
next to it.
Closing the tab does not stop the install, and reopening the page picks up where it was. An Abort install button stops it deliberately.
downloading… 0 MiB is not a stalled download
While packages are being fetched, the log prints a line every three seconds:
The download does not land where the watcher looks.
obinstall generates the pacman configuration it installs with, and that
configuration sets DownloadUser = alpm. When a download user is configured,
libalpm does not write into the cache directory itself: it creates a private
subdirectory download-XXXXXX/ inside the cache, mode 0700, owned by that user,
downloads there, and moves every archive up into the cache in a single pass at
the very end of the transfer.
The watcher only measures files sitting at the top level of the cache, so it reports zero for the whole download, on every host, not just on the live ISO.
Replaying an install
The wizard saves your answers to /etc/obarun/obinstall/wizard.toml, and that
file is a valid input for the command line installer. Configure one machine by
hand, keep the file, and install the next hundred with
obinstall-cli.
Not covered yet
This version deliberately leaves out AUR packages, LUKS encryption, RAID and multi-disk layouts.